
In-office needle arthroscopy has seen a rebirth of interest in the past several years amongst orthopedic surgeons. While the idea of in-office intra-articular evaluation spans almost 30 years, recent advances in optics, platform portability, and disposable instrumentation has created a surge of interest. The pros and cons of in-office needle arthroscopy were recently debated between myself and Martin Leland, MD within the AANA E-Newsletter (n.d.). Takeaways from that piece include appropriate patient selection, advances in instrumentation and patient positioners, and the ability to gain pre-surgical information regarding intra-articular pathology.
The integration of needle arthroscopy into one’s practice, however, does not occur in a vacuum. As most of us begin to ramp up our patient loads while maintaining safety protocols during the pandemic, a careful and strategic approach towards performing needle arthroscopy without destroying office flow is essential. I’ve had the opportunity over the past 5 years to perform several hundred in-office needle arthroscopies and provide my patients instant answers for their intra-articular pain. However, the journey from day 1 until today has been a constant learning curve. Upon reflection, the single greatest advice I could provide would be to minimize the potential for wasted clinic time with this procedure. Below I wish to share pearls my staff and I have learned during this process in hopes that it can enhance your experience should you choose to add needle arthroscopy to your armamentarium of diagnostic tools.
Understanding Where Time is Lost and Won:
When explaining to a new user how to properly budget time, I liken the process to an airline flight. While the flying time may only be X minutes long, the boarding, deboarding, taxiing etc. all add time that perhaps was not expected. Needle arthroscopy is no different. In our clinic setting we have “scheduled” and “unscheduled” needle arthroscopies. Ideally all patients would be scheduled, however, as my comfort and speed have improved over the years, many of these procedures are performed “on the fly”.
For example, if I have a patient with clear pathology, and a history and exam that corroborate intra-articular pathology, I will offer the patient a needle scope to confirm their diagnosis. During the conversation I explain to the patient my suspected diagnosis and inform them that they have two options to confirm this:
Option 1-Obtain an MRI and return to review it in 1-2 weeks.
Option 2-Explain that I can numb their skin in the office and utilize a tiny camera to access their joint to help determine the source of their pathology now.
During this discussion I will explain to them that the efficacy of evaluating intra-articular pathology has shown to be highly reliable in diagnosing intra-articular pathology (Deirmengian et al. 2018; Gill et al. 2018; Gramas et al. 1995; Voigt, Mosier, and Huber 2014; Xerogeanes et al. 2014). Furthermore, I review the safety profile with the patient, while explaining most patients typically experience pressure, not pain, after being anesthetized (McMillan et al. 2019). In my experience, taking the few extra moments to explain this in layman’s terms is extremely effective and calming for the patient.
Set-up: Needle-Scope Cart
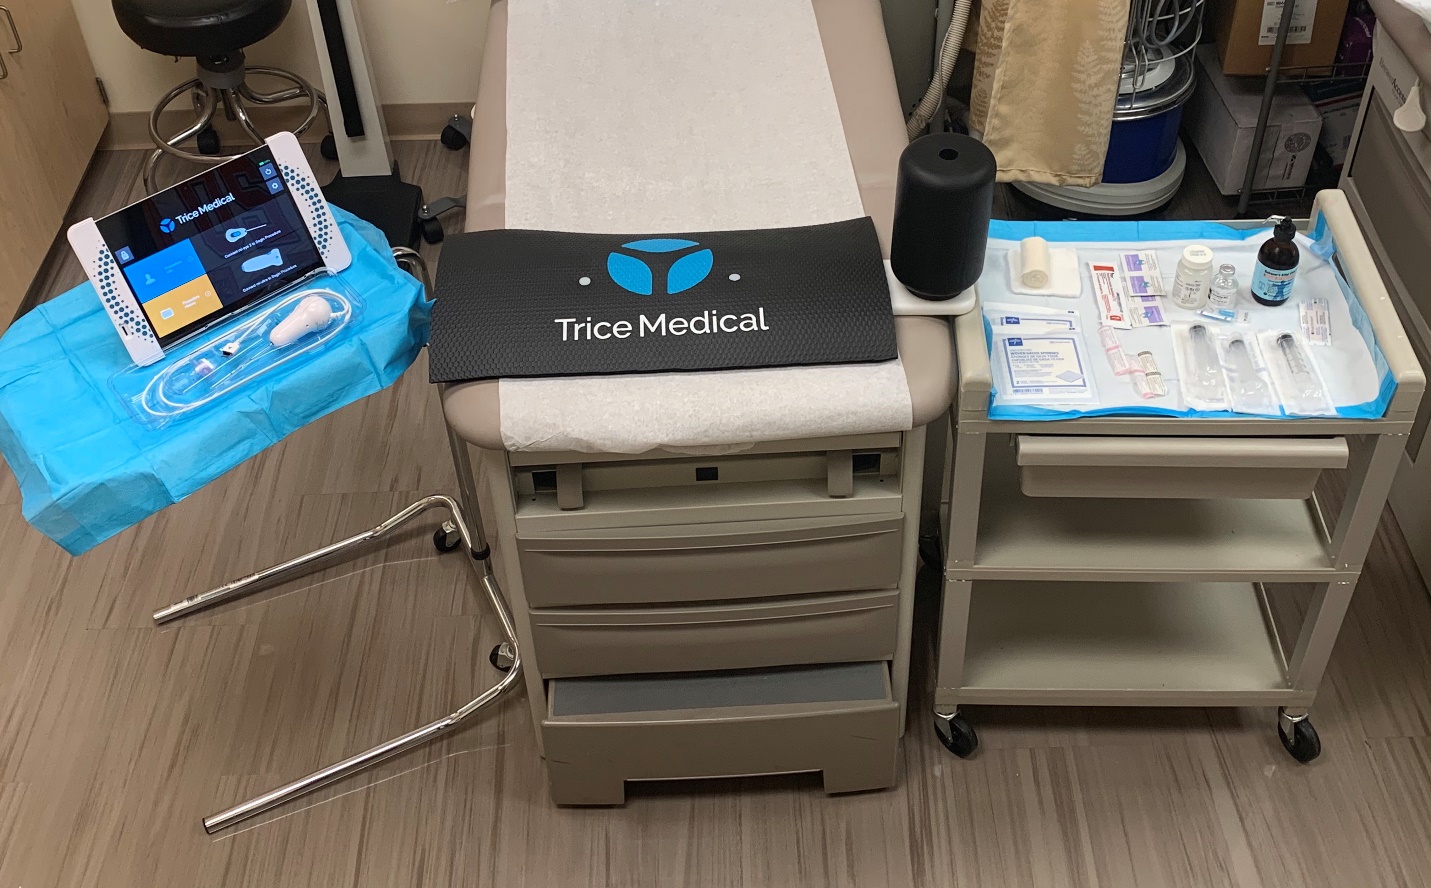
To maximize efficiency, our tech created a “needle scope” cart (Picture 1) and a work-flow algorithm. Kept on this rolling cart are many of the essentials required to perform the procedure (Table 1). Additionally, the tablet/monitor is also kept on this cart, allowing for portability from room to room if needed. During a clinic session I utilize 3 exam rooms. Typically, 1 room is designated as the “procedure” room, however, by having the rolling cart prepared, I can perform needle arthroscopy in any room if needed.
Work-Flow Scenario: Maximizing Efficiency for Unscheduled Patients
Perhaps the best of method of understanding maximizing efficiency is a true-life scenario. Setting the stage, all three rooms are occupied with patients. After obtaining a history and physical on a patient in exam room 1, we have jointly elected to perform a needle arthroscopy. At this point I will exit the room and ask my medical assistant (MA) to verify the insurance while I see the patient in exam room 2. Insurance verification typically falls into one of three baskets: no prior-authorization needed, absolute authorization that has a 24-48 hour investigation period (typically Medicaid and a small number of commercial insurances), or lastly, verification to be obtained by calling a benefits verification hotline. Several pearls for obtaining “on the spot” insurance approval can be found in Table 2.
If the procedure can be performed, the MA will set up the room and provide the patient the consent paperwork. After I exit room 2, I will see the needle scope patient, complete the consent signing, and anesthetize the patient with approximately 10cc of 1% lidocaine on their skin and capsule. While waiting for the anesthetic to take hold, I will go see the patient in room 3. During this time, the MA will enter the patient data into the needle scope tablet, position the patient knee or shoulder distractor, and prepare the injectable saline syringes. After completing the visit in room 3, I will return to room 1 and perform the needle arthroscopy. Typically, a needle arthroscopy diagnostic evaluation of a knee or shoulder takes approximately 5-7 minutes. After completing the procedure, my MA will place a compressive wrap on the limb as I review the images with the patient and discuss our treatment options. The MA will either bring the patient to the check-out desk or the surgery scheduler, depending on our findings and joint plan. I will then resume seeing the next patient. In total, once the rhythm of workflow has been optimized, the added time to the initial examination is about 10 minutes in totality.
Work-Flow Scenario: Scheduled Patients
Scheduled patients are those whom I see in my clinic that require prior authorization, or are referred by either my physician assistants (PA) or a colleague. In this scenario, patient(s) are scheduled to come in either at the beginning or end of clinic. Typically, I will have 2-3 patients scheduled per clinic. This type of scheduling mirrors the “injection clinic” model where some physicians will schedule several viscosupplementation injections during a 30-minute block at a designated time during the day. For new adopters to needle arthroscopy, I find that having patients come in at a scheduled time without being double booked with other patients allows for a less stressful environment.
For discussion purposes, let us assume we have scheduled two patients for needle arthroscopies. Using the above multi-room model, each patient is brought back into their respective rooms and provided their consents. I will consent the patient in room 1 and anesthetize them per the above protocol. While the anesthetic takes hold, I will see the patient in room 2 and repeat these steps while the MA prepares the needle scope set up and patient positioning. After numbing the patient in room 2, I will return to room 1, perform the needle scope and discuss our treatment plan. While the MA completes setting the patient up in room 1 for either surgery or check out, I will then enter room 2 and complete the second needle arthroscopy. This rhythmic coordination will allow for the physician to maximize efficiency while providing the patient with a unique service.
Summary:
Needle arthroscopy has the potential to provide a wholly unique service to our patients. Advancements in technology over the past several years now afford orthopedic surgeons the ability to provide instant answers for patients with intra-articular pathology. In my experience, each surgeon will initially find their own primary indication for performing needle arthroscopy. While I may feel comfortable performing needle arthroscopies on a variety of suspected pathologies, I find the most rewarding starting points for new adopters are cartilage evaluations in the knee, meniscal pathology, and rotator cuff tears. As appealing as needle arthroscopy may be, it nevertheless does take an investment in time and staff coordination.
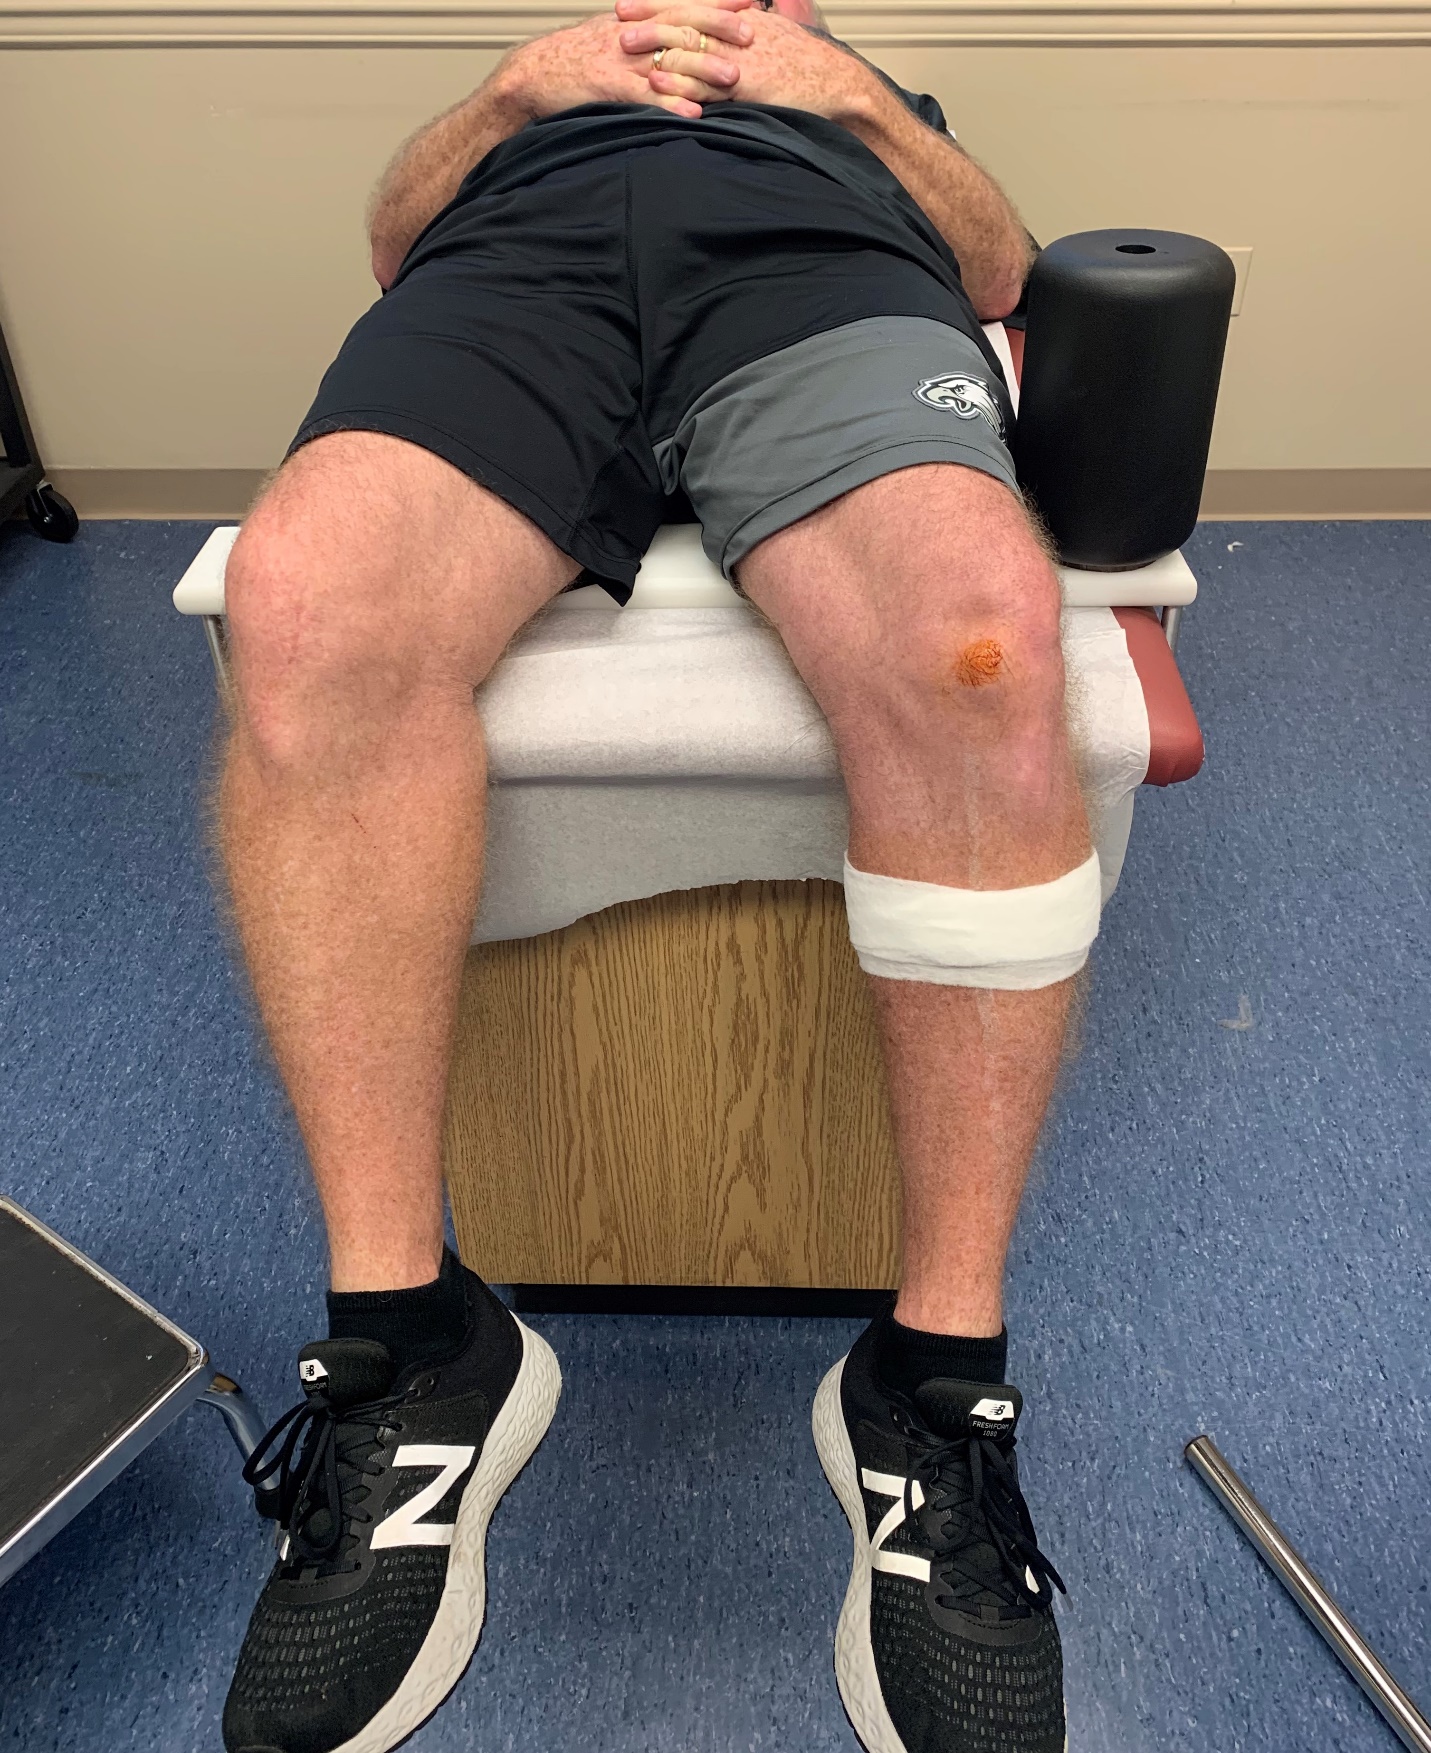
Over the past several years I have learned that needle arthroscopy is not for every patient. A clear conversation with the patient on the pros and cons of the procedure should take place prior to performing the procedure. For patients I may feel are apprehensive, I find that lying them down (supine for knees or lateral for shoulders), playing music, or having the MA engage them in conversation can allow for the patient to relax (Picture 2). Utilizing a knee post or a shoulder positioner can also allow for the surgeon to be comfortable while performing the procedure, as this is how we are at our best in the operating room. Lastly, proper attention should be paid to the numbing technique for the patient. By far, this is the most important step in my mind. Ensuring a large wheel of numbing agent is provided to the skin and the capsule is paramount. If performed correctly, I can confidently tell the patient that they should experience “pressure” not pain, much like the experience at the dentist’s office. This simple statement can dramatically reduce patient apprehension.
The impediments to implementation of needle arthroscopy have increasingly become less about the diagnostic benefit of the procedure. Having written and spoken about needle arthroscopy over the past several years, I find most of the trepidation now is related to maintaining an efficient office workflow and billing. While billing is topic for a separate conversation, I can confidently report that utilizing the diagnostic codes for the shoulder, knee, and hip have a tried and true track record in my practice. Coordination of the above workflow with your staff, and the preparation of the needle arthroscopy cart, will drastically reduce wasted minutes. As in the operating room, having each part of your team understand their defined role can make for a beautiful symphony of workflow when performing needle arthroscopy.


